Solving White Spots & Bubbles in Solventless Laminating Process: A Technical Guide

The solventless laminating process has become the global standard for flexible packaging due to its environmental benefits, reduced energy consumption, and high production speeds. However, transitioning from traditional dry bond lamination to solventless technology introduces specific technical challenges. Among these, the appearance of white spots and bubbles remains the most prevalent quality defect. This article provides a technical analysis of the root causes and systematic solutions for these issues, adhering to the highest industry standards for operational excellence.

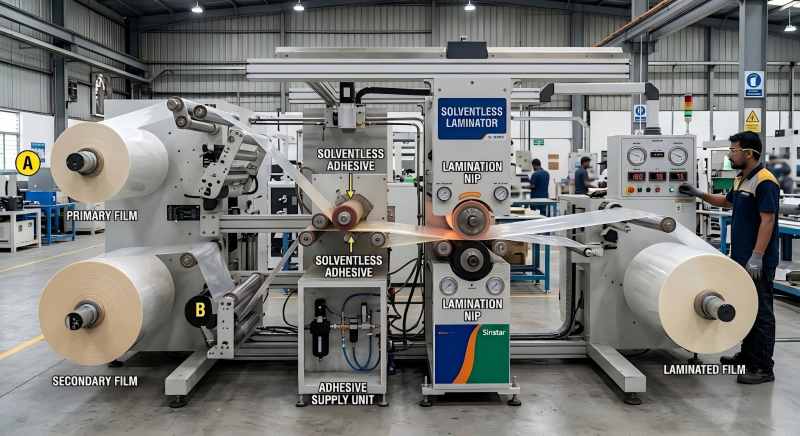
Part 1. Understanding the Solventless Laminating Process
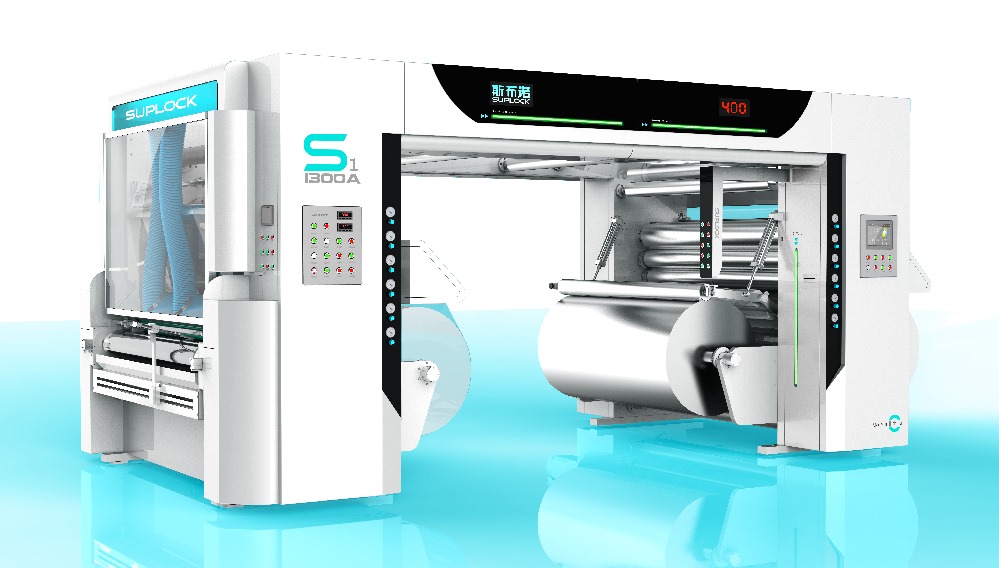
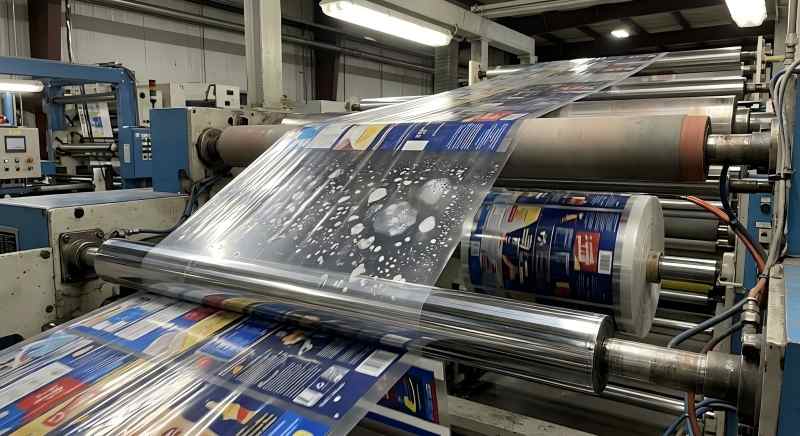
In a solventless system, a 100% solids polyurethane adhesive is applied to a primary substrate via a 5-roll coating system. Unlike solvent-based systems, there is no drying tunnel. The two substrates are joined at the laminating nip immediately after coating.
Because the adhesive has a low initial molecular weight and low green bond strength, the process is highly sensitive to mechanical settings, material surface energy, and environmental conditions. Any air trapped during the nip process or gas generated through chemical secondary reactions will manifest as visible defects.
Part 2. Technical Root Causes of White Spots and Bubbles
Operators need to classify defects in the solventless laminating process according to three distinct formation mechanisms: physical entrapment, poor wetting, and chemical gas evolution.
1. Mechanical Air Entrapment
The adhesive layer and secondary substrate develop air pockets when the laminating nip pressure becomes too low or the web tension becomes uneven.
Key Factor: The nip air-evacuation system fails to handle micro-bubbles when the line speed exceeds its maximum working capacity.
Result: Small, clear, spherical bubbles distributed across the web, which tend to become more frequent at higher speeds.
2. Inadequate Coating Weight and Distribution
The coating weight in solventless lamination typically ranges from 1.2 to 2.5 g/m2. If the volume of adhesive is insufficient to fill the microscopic voids in the printing ink or the surface roughness of the film, vacuum voids appear.
Key Factor: High-density ink areas (dark colors) require higher adhesive volumes to ensure total coverage.
Result: “White spots” that appear as unlaminated points where the adhesive failed to bridge the gap between layers.
3. Surface Tension and Wetting Issues
The wetting ability of the adhesive depends on the surface tension of the substrate. The surface energy of BOPP, PET, and PE films needs to exceed their adhesive surface tension for most adhesive applications.
Key Factor: If the corona treatment level drops below 38−40 dyne/cm, the adhesive will bead up (reticulation) rather than spread into a continuous film.
Result: Irregularly shaped spots or “crawling” patterns where the adhesive has pulled away from the substrate.
4. Chemical Reaction and Gas Evolution (CO2)
Solventless adhesives contain isocyanate (NCO) groups. These groups are highly reactive with moisture (H2O) and alcohols.
The Reaction: R−NCO+H2O→R−NH2+CO2↑
Key Factor: High ambient humidity or high residual solvent (specifically ethanol or isopropanol) in the printed ink reacts with the adhesive, releasing carbon dioxide gas during the curing room phase.
Result: Bubbles that were not visible at the rewind station but appear after 4-12 hours of curing.
Part 3. Systematic Solutions and Process Optimization
Achieving a defect-free laminate requires precise control over the four pillars of the process: Machinery, Materials, Environment, and Chemistry.
1. Optimization of the 5-Roll Coating System
The geometry and maintenance of the coating rollers are critical for a uniform viscosity profile.
- Roller Calibration: Use a feeler gauge to ensure the gap between the metering roller and the transfer roller is uniform across the entire width. The smallest deviation of 2μm will result in longitudinal streaks and localized white spots.
- Temperature Control: The coating rollers and adhesive tank must be maintained at temperatures between 40℃ and 55℃. The higher temperatures decrease adhesive viscosity, which leads to better transfer efficiency and leveling of the adhesive.
2. Advanced Tension and Nip Pressure Control
The interaction between the two webs at the nip determines the exclusion of air.
- Laminating Nip Pressure: Increase the pneumatic pressure of the nip roller to 0.4−0.6 MPa. A harder rubber roller (Shore A 85-95) is often more effective at “squeezing” out air than a softer one.
- Winding Tension: Implement a taper tension profile. As the roll diameter increases, the tension should gradually decrease to prevent the “telescoping” effect while maintaining enough radial pressure to compress any micro-bubbles.
3. Substrate Management and Corona Treatment
Material preparation is a prerequisite for successful lamination.
- Online Corona Treatment: Even if the film was pre-treated, secondary online corona treatment ensures the surface energy is at the optimal level of 40−42 dyne/cm.
- Ink Compatibility: Use “solventless-grade” inks. These inks are formulated with low alcohol content and high pigment loading to minimize the thickness of the ink layer, thereby reducing the adhesive volume required for leveling.
4. Environmental and Curing Parameters
Since the chemical reaction continues for 24−48 hours after lamination, the storage environment is as important as the production line.
- Humidity Control: Keep the production hall humidity between 50% and 65%. If humidity exceeds 70%, the risk of CO2 gas bubbles increases exponentially.
- Curing Room Temperature: Maintain a constant temperature (typically 40℃ to 55℃) in the curing room. Consistent heat ensures a uniform cross-linking density, which helps the adhesive “pull” the two substrates together, eliminating minor air pockets.
Part 4. Technical Checklist for Troubleshooting
When white spots or bubbles occur, use the following technical checklist for rapid diagnosis:
| Diagnostic Step | Technical Target | Corrective Action |
| Check Coating Weight | 1.5−2.0 g/m2 | Increase metering roller speed relative to transfer roller. |
| Measure Surface Tension | >40 dyne/cm | Increase corona treater power or replace film roll. |
| Verify Mixing Ratio | Per Manufacturer (e.g., 100:50) | Recalibrate the adhesive pump and check for blockages. |
| Test Residual Solvent | <3 mg/m2 | Increase drying temperature/airflow on the printing press. |
| Inspect Nip Roller | No visible debris/pitting | Clean or grind the rubber roller surface. |
The elimination of white spots and bubbles in the solventless laminating process requires strict compliance with technical specifications instead of using trial and error methods. The manufacturers achieve optical clarity and high bond strength through their control of surface tension and coating weight and their management of chemical compatibility between inks and adhesives.
The implementation of automated coating weight monitoring together with precise tension control systems will become critical for sustaining both competitive advantages and product quality as the industry progresses towards increased line speeds and advanced multi-layered systems.