How to Avoid Ink Smearing During Solventless Lamination?

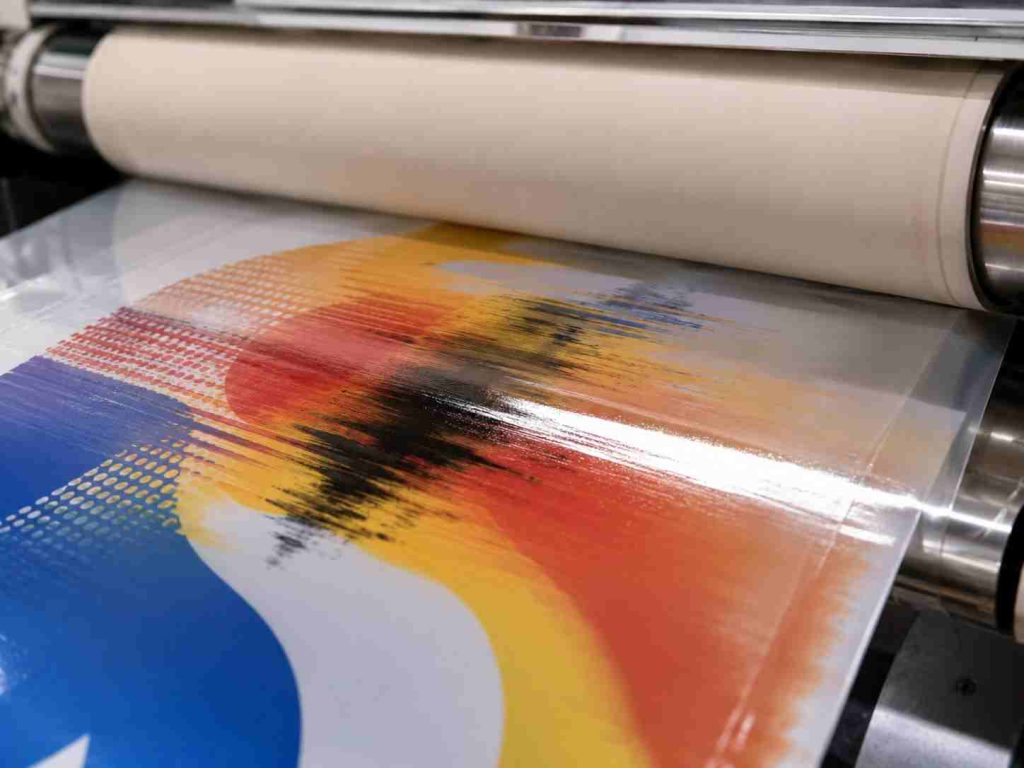
Ink smearing in lamination occurs when the adhesive interacts with the printed ink layer, causing the ink to shift, blur, or bleed. On a finished package, this shows up as blurred color edges, patchy solid fills, or ink that has partially transferred onto the film, any of which can result in visual defects or failed quality checks.
High-coverage print areas are most at risk. A full-bleed background or a dense logo has far more ink surface exposed to the adhesive than a simple line of text does.
On the production floor, smearing is often assumed to be a printing defect. But in most cases the print is fine, the problem develops during lamination, when the adhesive makes direct contact with the ink layer. Identifying the right stage matters, because adjusting the wrong part of the process will not fix it.
The main factors involved are the adhesive system, ink formulation, print coverage, curing conditions, and substrate surface energy and how these interact determines whether smearing becomes a problem.
Why Does Ink Smearing Happen During Lamination
Not all lamination adhesives affect ink the same way and understanding the difference helps explain why smearing shows up in some jobs and not others.
Solvent-based adhesives carry organic solvents that can dissolve the binder in certain ink formulations, particularly nitrocellulose-based inks. The solvent penetrates the ink layer during lamination, weakening its structure before the adhesive has a chance to cure. Nitrocellulose inks are especially vulnerable here because their binder is chemically susceptible to many common organic solvents.
Solventless adhesives work differently, there are no carrier solvents involved. But that does not make them risk-free. Solventless systems contain reactive monomers and oligomers that are highly mobile in their uncured state. These low-viscosity components can penetrate into the ink layer before the adhesive fully crosslinks, causing similar smearing effects through a different mechanism. This catches many converters off guard, since the assumption is that removing solvents removes the smearing risk. It does not.
Water-based adhesives generally pose the lowest risk to most ink systems, but compatibility still needs to be verified. Water-based inks in particular require testing before any new material combination goes into production.
The common thread across all three systems is this: if the adhesive can penetrate the ink layer faster than it cures or bonds, smearing becomes likely.
How to Prevent Ink Smearing During the Lamination
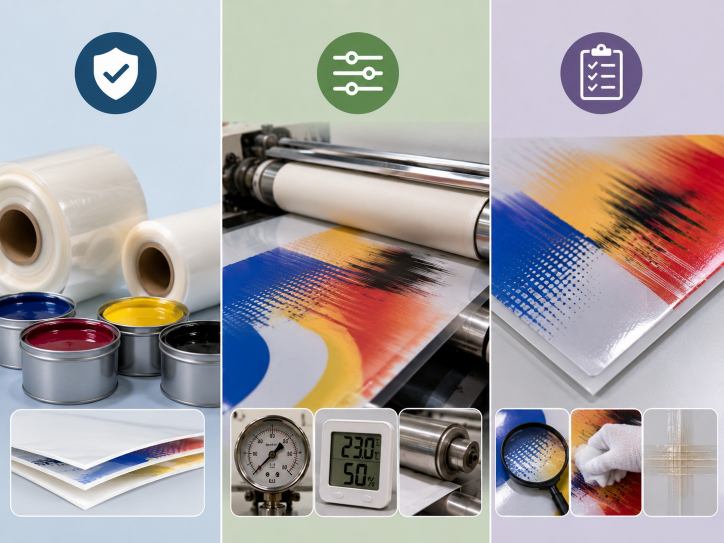
Prevention comes down to three things: choosing compatible materials, controlling your process parameters, and verifying before you run a full job.
1. Start with Ink and Adhesive Compatibility
For solventless lamination, polyurethane-based inks hold up better against reactive monomers than nitrocellulose inks do. If your current workflow uses nitrocellulose inks, switching to PU ink for solventless jobs is worth considering.
Before running any new ink-adhesive combination, ask your ink supplier for a compatibility test report. This confirms whether the ink has been tested against the specific adhesive system you are using — a straightforward check that is easy to overlook under production pressure.
Adhesive selection follows the same principle. A solventless adhesive that performs well with one ink type may not behave the same way with another. Check with your adhesive supplier on the right grade for your substrate and ink combination before committing to a run.
2. Control Adhesive Application Weight
Using more adhesive than necessary does not improve bond strength, it increases the volume of reactive material in contact with the ink layer, which raises the penetration risk. Keep your coat weight within the range recommended by the adhesive manufacturer for your substrate and speed.
If smearing is recurring on specific jobs, coat weight is one of the first variables to review. Even a modest reduction can make a measurable difference, particularly on high-coverage print areas.
3. Get Curing Conditions Right
For solventless adhesives, reactive monomers need to fully crosslink during curing. Until that happens, they remain mobile and can continue migrating into the ink layer. Incomplete curing is one of the more consistent causes of smearing in solventless lamination.
Temperature, time, and ventilation all affect how completely the adhesive cures. Follow the manufacturer’s recommended curing profile, and avoid shortening aging time to push jobs through faster, it is a common shortcut that tends to show up as smearing later.
For solvent-based systems, verify that drying tunnel temperatures are set correctly and that solvent has fully evacuated before the film reaches the nip. Residual solvent entering the nip under pressure will accelerate ink penetration.
4. Run Pre-Lamination Checks
After printing, allow adequate rest time before moving substrates into lamination. Freshly printed film that goes straight into lamination has not had enough time for the ink to fully set, which increases the risk of adhesive interaction.
Check surface energy with a dyne test before laminating. For most flexible packaging films, the threshold sits at 38–42 dynes/cm. Below that range, ink adhesion to the substrate weakens, making it easier for the adhesive to displace the ink layer during lamination. Corona treatment should be applied and confirmed as part of standard pre-press procedure.
For any new combination of ink, adhesive, and substrate, run a small trial before committing to a full production run. Evaluate the result across both solid fill areas and fine-detail sections — these behave differently under the same lamination conditions.
How to Diagnose Ink Smearing After It Occurs
If smearing has appeared on a finished roll, the first step is to determine whether it came from the lamination stage or the printing stage. Both can look similar, but the corrective action is different depending on the source.
A peel test is a practical starting point. Delaminate a section of the affected area and examine both film layers. If ink has transferred to the adhesive side of the outer film, the smearing occurred during lamination. If the ink surface looks undisturbed but smearing is visible through the film, the issue may be optical or substrate-related rather than adhesive migration.
The direction and pattern of the smearing also give useful information. Even smearing that follows the machine direction points to a process variable — coat weight, line speed, or nip pressure. Patchy or irregular smearing is more likely a material compatibility issue between the ink and adhesive.
With the source identified, the fix is more straightforward: adjust process parameters if the problem is process-driven, or revisit material selection if it comes down to compatibility.
Conclusion
Ink smearing in lamination is a controllable problem and most smearing issues can be avoided with the right material choices and consistent process control.
The prevention steps are simple: verify ink and adhesive compatibility before production, keep coat weight within recommended ranges, follow proper curing protocols, and run trial checks when introducing new material combinations. These are standard practices, but they are also the ones most often bypassed under production pressure.
If you are working with solventless lamination equipment and want to reduce smearing risk through tighter control over coat weight, nip pressure, and line speed, Sinstar’s solventless laminating machines are built for the kind of parameter precision that makes a difference on sensitive print jobs. Contact the team to discuss your specific application.