15 PET Lamination Problems and How to Fix Them

PET (Polyethylene Terephthalate) film is one of the most commonly used substrates in the modern flexible packaging industry. PET is known for its excellent clarity, tensile strength, barrier properties, and thermal stability. PET forms the backbone of high-performance laminates for food packaging, pharmaceutical pouches, industrial bags, and consumer goods. But PET lamination is known to be prone to some quality defects despite its superior mechanical and optical properties if process parameters, adhesive selection, and equipment precision are not properly controlled.
In this article, we will discuss the 15 most common PET lamination defects, their root causes, exact technical solutions, and how smart machines and preventive maintenance can help to prevent these problems at the source.
What Makes PET Film Challenging to Laminate?
Understanding the basic physical and chemical properties of PET film is essential to be able to successfully troubleshoot PET lamination defects. Although these properties make PET an excellent packaging material, they also create unique lamination challenges:
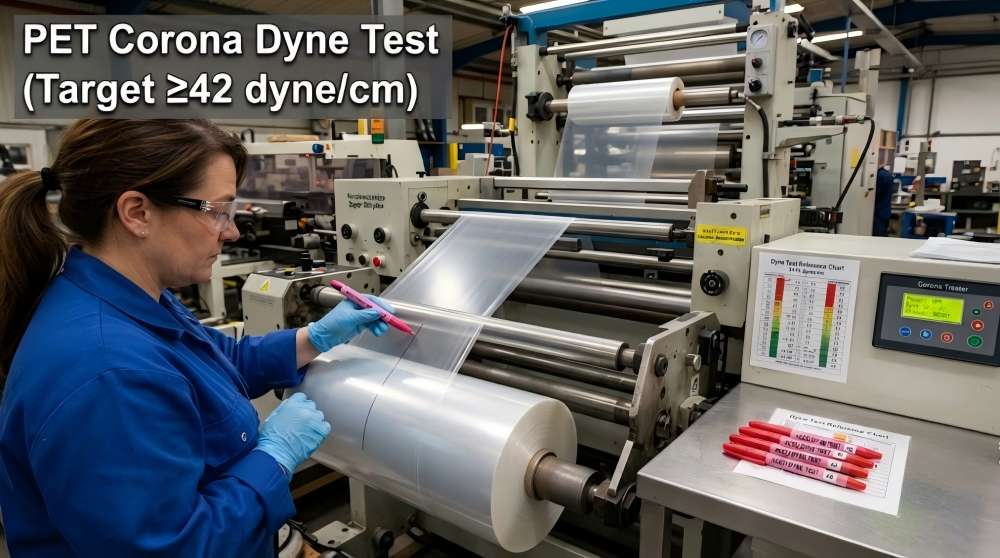
- High Surface Tension & Corona Treatment Decay: Unprocessed PET has a low surface energy. Although corona treatment is used to increase surface tension (generally above 42 dyne/cm), dyne levels degrade quickly over time and under high ambient temperatures, resulting in poor wet-out and adhesion failure.
- High Stiffness and Modulus: PET is stiff and as such resists stretching and deformation well. However, this rigidity also means that any residual internal stress or tension mismatch between layers will immediately manifest itself as curl, warp, or tunnelling.
- High Heat Resistance: PET is suitable for thermal bonding or drying, and will not melt under high temperature. But the wrong drying tunnel temperatures can cause erratic thermal expansion and shrinkage, resulting in serious web distortion and wrinkling.
- Smooth Surface with No Porosity: PET has no porosity as compared to paper or porous substrates. The adhesive is only anchored by mechanical interlock on micro roughness, and by chemical bonding by functional groups, and therefore does not allow any error in coating uniformity and curing.
- Dimensional Stability: Dimensionally stable under normal conditions. Under extreme thermal gradients across the web width, differential transverse shrinkage occurs, resulting in edge curl and puckering.
15 Most Common PET Lamination Problems
The following matrix categorizes the 15 most frequent defects encountered in PET lamination, highlighting their operational severity and ease of remediation.
| Problem | Severity | Easy to Fix? | Primary Manifestation |
| Delamination | ★★★★★ | Medium | Complete or partial separation of layers during converting or shelf-life |
| Air Bubbles | ★★★★ | Easy | Trapped air pockets between substrate interfaces |
| Wrinkles | ★★★★★ | Medium | Creases, folds, or ridging running across or along the web |
| Curling | ★★★★ | Medium | Bending or rolling of laminated webs after cutting or slitting |
| Silvering | ★★★★ | Easy | Micro-voids or frosted spots resembling silver streaks in adhesive layer |
| Orange Peel | ★★★ | Easy | Textured, uneven adhesive coating resembling fruit skin |
| Blocking | ★★★ | Easy | Layers sticking together inside the master roll under pressure |
| Uneven Adhesive | ★★★★★ | Medium | Streaks, heavy edges, or starved center in adhesive distribution |
| Adhesive Bleeding | ★★★★ | Medium | Seepage of uncured adhesive into seal areas or package edges |
| White Spots | ★★★ | Easy | Opaque speckles or pin-sized voids in the laminate |
| Tunnel Effect | ★★★★ | Hard | Longitudinal lifting of top web forming tunnel-like channels |
| Fish Eyes | ★★★ | Medium | Circular, lens-like imperfections in the coating layer |
| Static Electricity | ★★★ | Easy | Web attraction, sparking, or dust contamination due to charge buildup |
| Edge Curl | ★★★ | Easy | Curling specifically restricted to the outer 10–20mm of the web edge |
| Poor Bond Strength | ★★★★★ | Medium | Low peel force values failing industrial lamination standards |
Defect 1. Delamination
Symptoms: The laminated structure (e.g., PET//PE or PET//AL//PE) peels apart easily during pouch making, retort testing, or shelf life.
Possible Causes: Inadequate corona treatment (<40 dyne/cm), incorrect adhesive mixing ratio (off-stoichiometry), insufficient curing time, or moisture contamination reacting with polyurethane adhesive.
Solutions: Measure dyne levels immediately prior to lamination and re-corona if necessary. Strictly calibrate automatic adhesive dosing pumps to maintain exact part A and part B ratios. Ensure complete primary and secondary curing in temperature-controlled rooms.
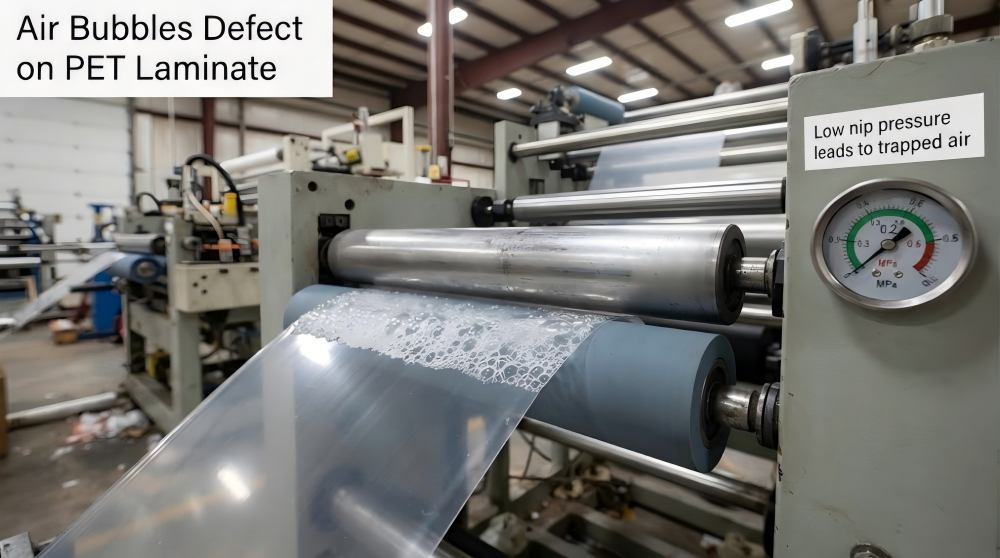
Defect 2. Air Bubbles
Symptoms: Visible trapped pockets of air scattered across the lamination interface, degrading optical clarity and barrier integrity.
Causes: Inadequate nip roll pressure, uneven rubber roller hardness, entrapped air in high-speed nip entry, or rough web topography.
Solutions: Increase nip roll pressure uniformly across the web width. Check nip roller parallelism using pressure-sensitive carbon paper. Optimize web entry angle into the nip point to squeeze out boundary air layers.
Defect 3. Wrinkles
Symptoms: Diagonal, longitudinal, or chevron creases permanently pressed into the laminated structure.
Causes: Incorrect web tension profile, roller misalignment (out-of-square idlers), temperature mismatch across drying/nip zones, or asymmetric film gauge.
Solutions: Re-align all idler rolls using optical alignment tools. Taper tension zones progressively from unwind to rewind. Ensure uniform cooling roller temperatures to eliminate thermal gradients.
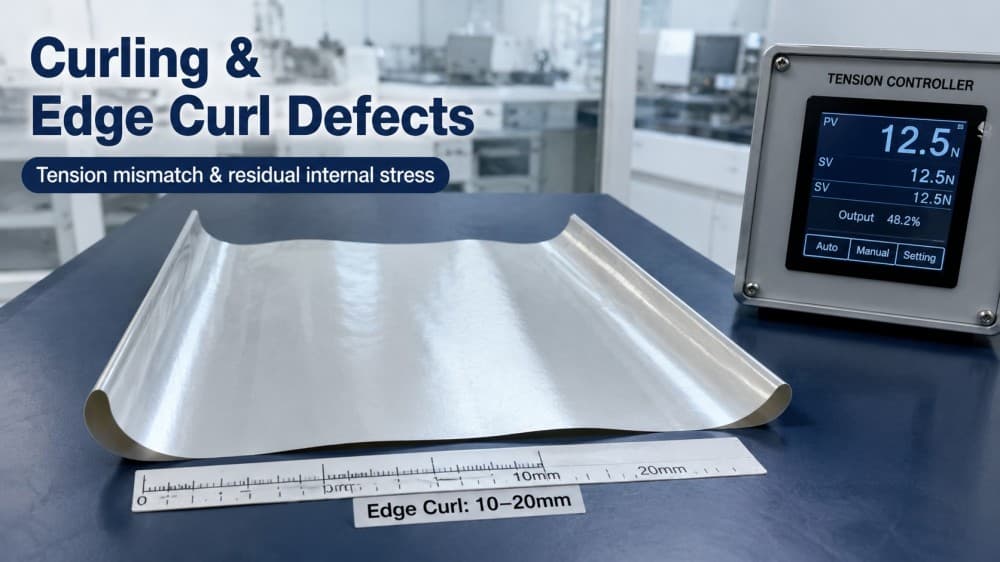
Defect 4. Curling
Symptoms: Laminated web bows or rolls up into a cylinder upon slitting or sheeting.
Causes: High residual internal stress, differential shrinkage between dissimilar substrates (e.g., rigid PET vs. elastic PE), or excessive web tension during winding.
Solutions: Reduce winding tension taper. Balance the draw ratios between the primary unwind and secondary laminating nip. Allow rolls to relax in a temperature-controlled conditioning room before slitting.
Defect 5. Silvering
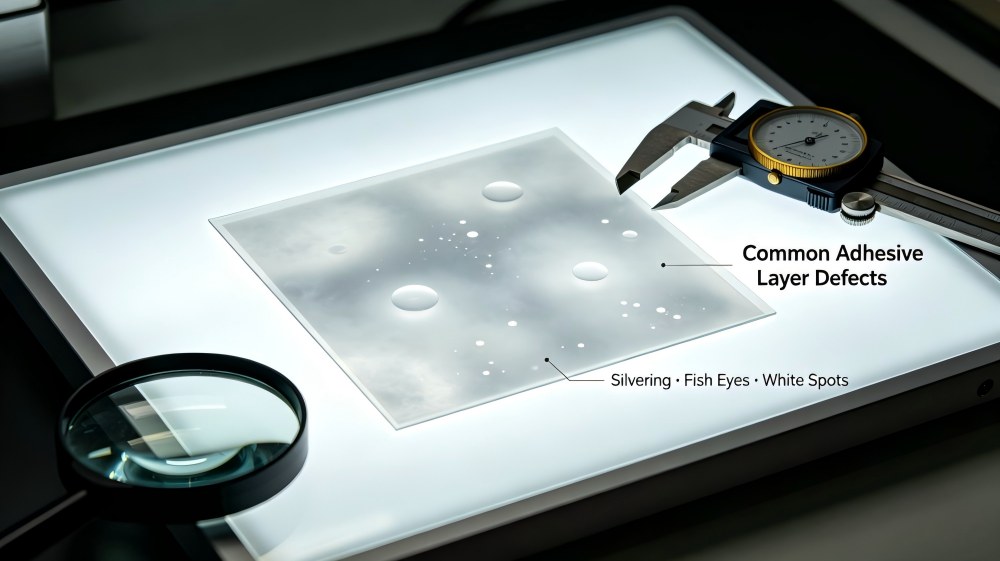
Symptoms: Microscopic frosted or silvery patches visible in transparent PET laminates, resembling tiny dry spots in the adhesive layer.
Causes: Why transparent PET most frequently exhibits silvering: Any minute variation in adhesive wet-out or micro-air entrapment is instantly magnified against clear PET backgrounds. Caused by low nip pressure, high adhesive viscosity, or low coating weight.
Solutions: Lower adhesive viscosity by optimizing temperature or adding approved reactive diluents. Increase nip pressure and use soft, high-resilience silicone nip rollers.
Defect 6. Orange Peel
Symptoms: A pebbled, uneven surface texture on the laminated film resembling the skin of an orange.
Causes: Improper adhesive viscosity, incorrect coating weight (too high or fluctuating), or incorrect nip roll durometer and pressure.
Solutions: Adjust adhesive solids content and temperature. Calibrate metering and transfer roll speeds to achieve a smooth, leveling adhesive film before nip transfer.
Defect 7. Blocking
Symptoms: Adjacent layers of laminated film adhere so strongly inside the master roll that they cannot be unwound without delaminating or tearing.
Causes: Insufficient adhesive curing prior to rewinding, excessive winding tension, or storing rolls in elevated ambient temperatures.
Solutions: Extend curing time before high-pressure rewinding. Optimize cross-linking agent ratios. Implement cooling cycles on rewind shafts.
Defect 8. Fish Eyes
Symptoms: Circular, lens-like transparent or semi-opaque spots scattered in the coated adhesive layer.
Causes: Undissolved adhesive components, airborne dust particles, gel particles in the adhesive, or contamination on the gravure cylinder cells.
Solutions: Filter adhesives through fine mesh screens prior to pumping. Enforce strict cleanroom protocols around the coating station. Clean gravure cylinders using ultrasonic baths.
Defect 9. White Spots
Symptoms: Random white, opaque speckles or pin-sized voids embedded within the laminate.
Causes: Trapped moisture reacting with polyurethane adhesive to form carbon dioxide gas micro-bubbles, airborne dust, or foreign debris.
Solutions: Check environmental humidity in the lamination room. Ensure dry storage of PET films and adhesives. Install HEPA air filtration around the coating nip.
Defect 10. Tunnel Effect
Symptoms: The top web lifts away from the bottom web in long longitudinal channels, resembling tunnels.
Causes: Excessive web tension during lamination combined with inadequate adhesive curing or dimensional instability of the PET film under stress.
Solutions: Reduce lamination and rewind tension significantly. Ensure full chemical cure of the adhesive matrix before subjecting the roll to tension release.
Defect 11. Adhesive Bleeding
Symptoms: Uncured or partially cured adhesive seeps out from the edges of the laminated roll during storage or rewinding, causing layers to stick together at the sides and contaminating slitting knives.
Causes: Excessive coating weight at the web edges, overly high winding tension squeezing liquid adhesive outward, or extended adhesive pot life combined with low initial viscosity.
Solutions: Adjust the edge doctor blades or metering rolls to taper the adhesive coating width slightly inward from the film edges. Reduce final rewind tension and optimize adhesive reactivity to accelerate initial tack development.
Defect 12. Fish Eyes
Symptoms: Circular, lens-like transparent or semi-opaque spots scattered throughout the coated adhesive layer, resembling tiny fish eyes.
Causes: Undissolved adhesive components, airborne dust particles, micro-gels formed in the adhesive mix, or debris trapped in the gravure cylinder cells.
Solutions: Filter two-component adhesives through fine-mesh inline screens before pumping. Maintain strict cleanroom standards around the coating station and perform regular ultrasonic cleaning of gravure rolls.
Defect 13. Static Electricity
Symptoms: Film webs attract floating dust and debris, repel or snap violently against guide rollers, or cause minor electrical shocks to operators during handling.
Causes: High electrical resistance of PET film, rapid friction against idler rolls in dry ambient conditions, and inadequate static dissipation mechanisms.
Solutions: Install high-performance static elimination bars (ionizing bars) before the coating nip and at the rewind station. Maintain relative humidity in the converting plant above 45% RH.
Defect 14. Edge Curl
Symptoms: Curling or warping that is strictly localized to the outer 10–20 millimeters of the web edges, while the center flat area remains stable.
Causes: Asymmetrical cooling or heating profiles across the web width, localized edge stretching from uneven roller pressure, or improper corona treatment decay at the extreme margins.
Solutions: Ensure uniform air distribution and temperature across all drying and cooling spans. Check that nip rollers and backup rolls are perfectly parallel to prevent uneven edge compression.
Defect 15. Poor Bond Strength
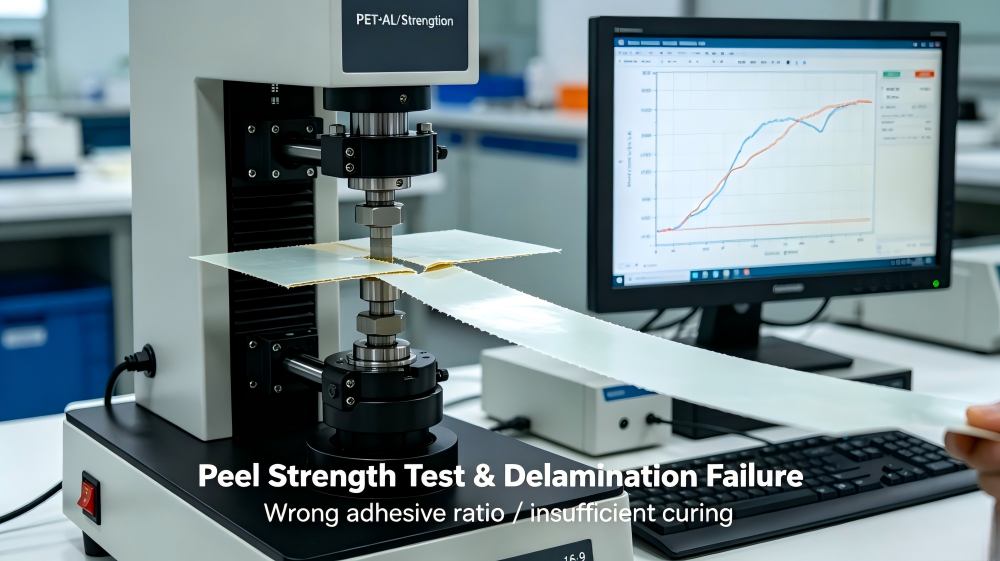
Symptoms: The laminated structure fails peel adhesion tests, easily separating under minimal force and failing to meet industrial pouch integrity standards.
Causes: Sub-optimal corona treatment (<40 dyne/cm), incorrect mixing ratio of polyurethane adhesive components, moisture contamination, or insufficient curing time.
Solutions: Routinely test incoming film surface energy with dyne pens. Calibrate automated dosing pumps for exact stoichiometric mixing, and ensure rolls undergo full curing at recommended temperatures before testing or converting.
Root Cause Analysis Flowchart
When troubleshooting poor adhesion or bonding failures in PET lamination, follow this systematic diagnostic workflow:
Poor Adhesion / Delamination Defect Detected
│
▼
Check Adhesive Mix Ratio (Part A : Part B)
│
├──► Incorrect? ──► Recalibrate Dosing Pumps & Check Flow Meters
│
└──► Correct?
│
▼
Check Substrate Corona Treatment Level (Target: > 42 dyne/cm)
│
├──► < 40 dyne? ──► Increase Corona Generator Power Output
│
└──► Adequate?
│
▼
Check Web Tension Profile (Unwind to Rewind Taper)
│
├──► Out of Spec? ──► Re-tune Servo Tension Control Loops
│
└──► Balanced?
│
▼
Check Nip Roll Pressure & Hardness (Durometer)
│
├──► Uneven? ──► Re-align Nip Rollers & Adjust Pneumatic Pressure
│
└──► Optimal?
│
▼
Check Curing Room Temperature & Time
│
└──► Insufficient? ──► Extend Curing Duration / Adjust Room Temp (45°C)
Machine Parameters That Affect PET Lamination
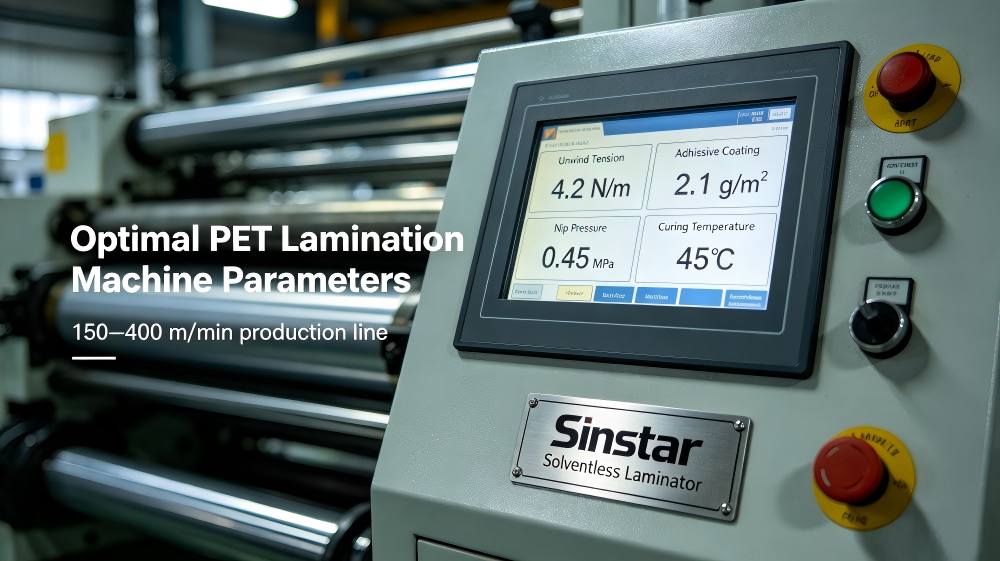
Precise control over machine parameters is critical for flawless PET lamination. The following table outlines optimal operational ranges:
| Parameter | Recommended Range | Critical Impact if Out of Range |
| Unwind Tension (PET) | 3.5 – 5.5 N/m | High tension causes curl and tunneling; low tension causes wrinkles. |
| Coating Weight | 1.8 – 2.5 g/m² (Solventless) | Low weight causes poor bond; high weight causes blocking and tunneling. |
| Nip Pressure | 0.3 – 0.6 MPa | Low pressure causes air bubbles and silvering; high pressure causes web distortion. |
| Roller Temperature | 40°C – 55°C | Ensures optimal adhesive wetting without thermal expansion distortion. |
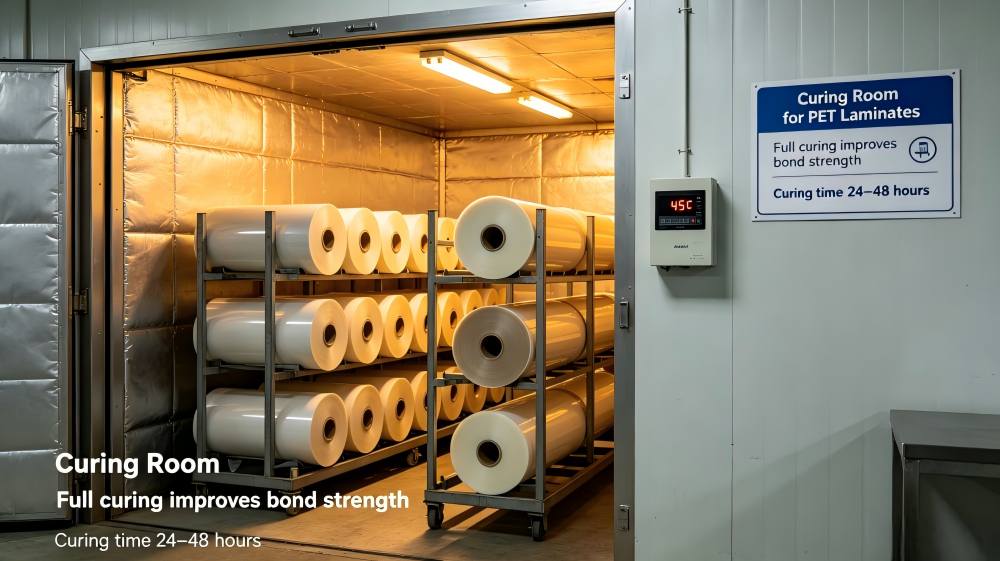
| Curing Time | 24 – 48 Hours (at 45°C) | Incomplete curing leads to weak bond strength and chemical delamination. |
| Line Speed | 150 – 400 m/min | Speed must match adhesive pot life and wetting window. |
| Ambient Humidity | < 65% RH | High humidity causes moisture-isocyanate reactions (carbon dioxide bubbles). |
Solventless vs. Solvent-Based PET Lamination Problems
Choosing the right lamination technology dictates the nature of defects encountered. Below is a comparative analysis:
| Issue | Solventless Lamination | Solvent-Based Lamination |
| Bubble Formation | Higher risk if nip pressure/wetting is inadequate | Lower risk due to solvent evaporation in drying tunnel |
| VOC Emissions | Zero VOCs (Eco-friendly) | High VOC emissions requiring thermal oxidizers |
| Drying Requirements | None (100% solids) | Requires massive drying tunnels and precise air balance |
| Curl Tendency | Minimal thermal stress | Higher thermal stress from drying oven heat |
| Operating Cost | Low (High speed, no solvent cost) | High (Solvent purchase, recovery, and drying energy) |
| Energy Consumption | Low | High (Oven heating and exhaust blowers) |
Preventive Maintenance Checklist
To maintain peak operational performance and prevent recurring PET lamination defects, converters must implement rigorous daily and weekly maintenance schedules:
Daily Checklist
✓ Roller Cleaning: Clean gravure cylinders, nip rollers, and guide rolls with approved solvents to remove cured adhesive residue and dust.
✓ Adhesive Filter: Inspect and clean in-line adhesive filters to prevent particulate clogs and fish eyes.
✓ Tension Calibration: Verify load cell calibration and pneumatic regulator responses across all zones.
✓ Temperature Check: Measure pre-nip and roller temperatures using infrared thermometers to ensure thermal consistency.
✓ Corona Test: Conduct dyne pen testing on incoming PET rolls and verify generator operational status.
Weekly Checklist
✓ Bearing Inspection: Check all idler and nip roller bearings for wear, play, or lubrication breakdown.
✓ Servo Calibration: Recalibrate servo drives and synchronization between coating and laminating nips.
✓ Pressure Calibration: Check pneumatic cylinders and pressure gauges for smooth, binding-free operation.
Why Equipment Quality Matters
Eliminating defects such as wrinkles, bubbles, curl, and adhesive waste is fundamentally a matter of engineering precision. High-speed, high-precision converting machinery eliminates the variables that lead to operator error and material scrap.
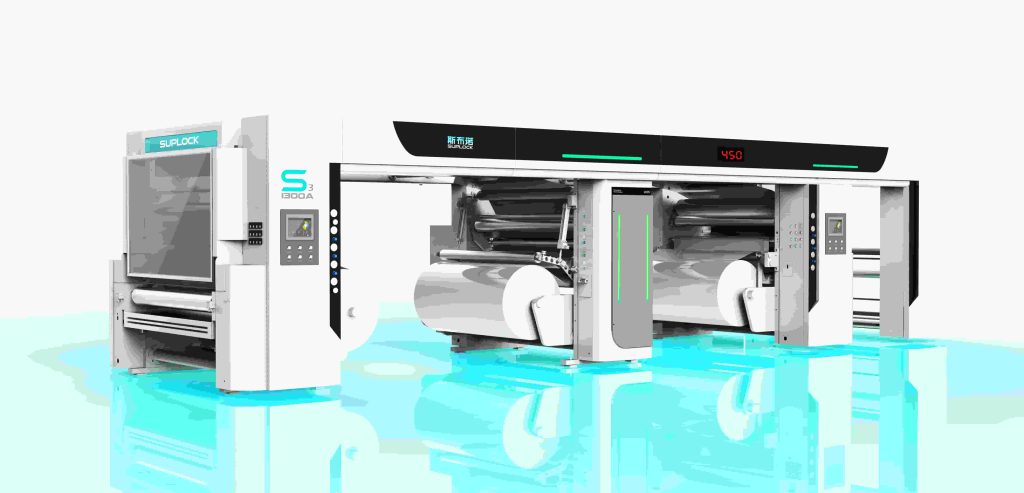
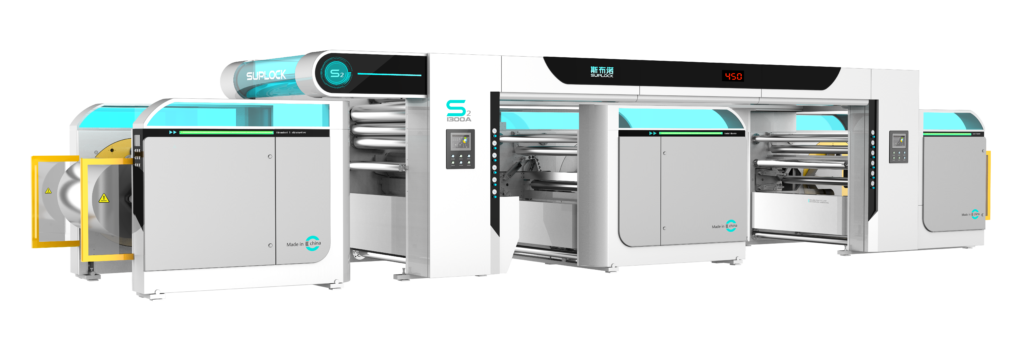
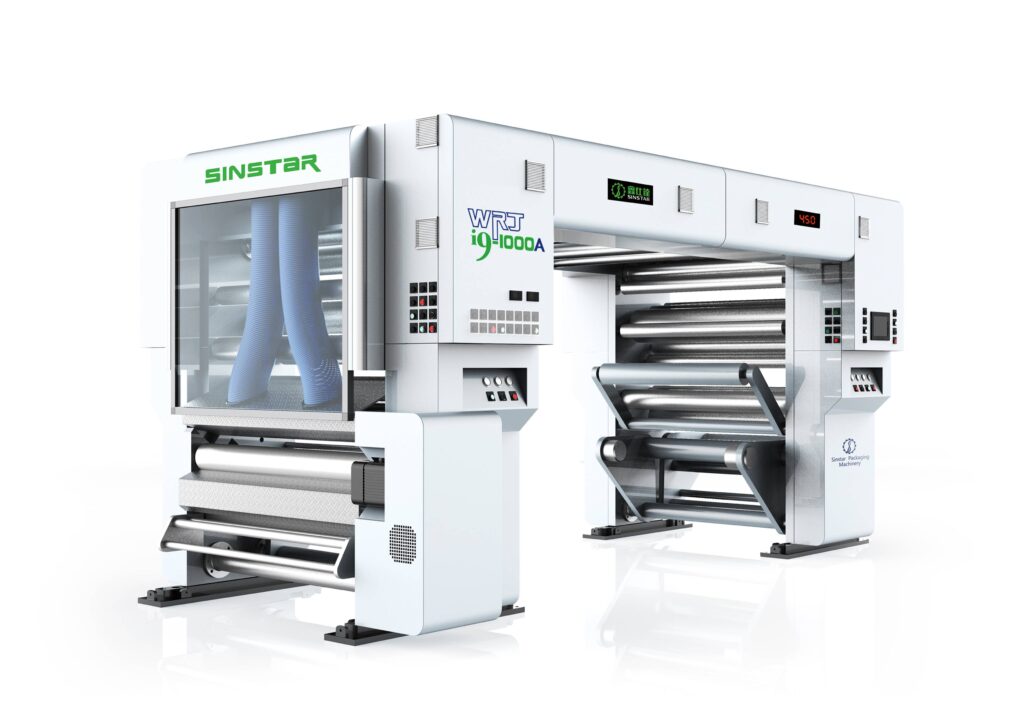
Sinstar solventless laminating machines are designed to meet the challenges of PET film converting. With independent digital tension control, high-precision servo drives, micro-metric coating gap adjustment, automatic multi-component adhesive mixing systems, and ultra-stable pneumatic nip pressure regulation, Sinstar equipment guarantees consistent, defect-free lamination, even at the maximum production speeds. Investing in superior equipment architecture is the ultimate solution to long-term profitability and flawless packaging quality.
Frequently Asked Questions
Why does PET lamination peel off?
The main cause of PET lamination peeling is insufficient corona treatment (<40 dyne/cm), incorrect adhesive mixing ratio, or insufficient curing time. This is achieved by appropriate surface activation and appropriate stoichiometric mixing.
Why Do Bubbles Appear After Curing?
Most of the bubbles that form after curing are due to moisture contamination reacting with the polyurethane isocyanates to release carbon dioxide gas, or trapped air at the nip point due to inadequate pressure.
Why does PET curl after laminating?
High residual internal stress, tension mismatch between primary and secondary webs, or asymmetrical thermal shrinkage during processing causes PET curl
Best adhesive for PET?
Two-component solventless or solvent-based polyurethane adhesives, specifically designed for high barrier plastic films, provide the best compromise between bond strength, clarity, and chemical resistance.
How long does it take to cure PET?
Typically, PET laminates are bonded using polyurethane adhesives and allowed to cure for 24 to 48 hours in a temperature-controlled curing room (approximately 45°C) to fully cross-link and obtain maximum bond strength.
Solventless lamination is possible with PET.
Yes, solventless lamination works very well for PET packaging provided the machine has accurate tension control and enough nip pressure to assure good wetting.
Why does PET wrinkle?
PET wrinkles are caused by improper web tension taper, misalignment of idler rollers, or transverse thermal gradients across the drying or laminating zones.
How can I improve bond strength?
Improvement of bond strength: Verification of corona treatment levels (>42 dyne/cm), proper mix ratio of adhesives, coating weight optimisation (1.8–2.5 g/m2) and proper curing.
What is the recommended coating weight?
For solventless PET lamination, a coating weight of 1.8 g/m2 to 2.5 g/m2 is usually recommended to achieve a good balance of bond strength and blocking/tunneling.
How can I use less adhesive?
Optimise adhesive consumption through high-precision gravure cylinders, maintaining metering roll gaps and preventing edge bead overflow.
Why is there silvering?
Silvering is caused by micro-air entrapment or poor adhesive wet-out to transparent PET film. The problem is usually caused by low nip pressure or high adhesive viscosity.
How do I avoid delamination?
Preventing delamination requires strict quality control of incoming film dyne levels, calibration of automated adhesive dosing systems, and strict adherence to recommended curing protocols.